Module Activation
Once you install the package successfully, you need to activate the modules.
Login to the admin panel and navigate to WBCOM menu. Click on it and search for the sub-menu of Blog Extension.
Under Blog, you’ll find Configurations
Log In Admin panel -> Wbcom Menu -> Blog -> Configurations
Image1.1
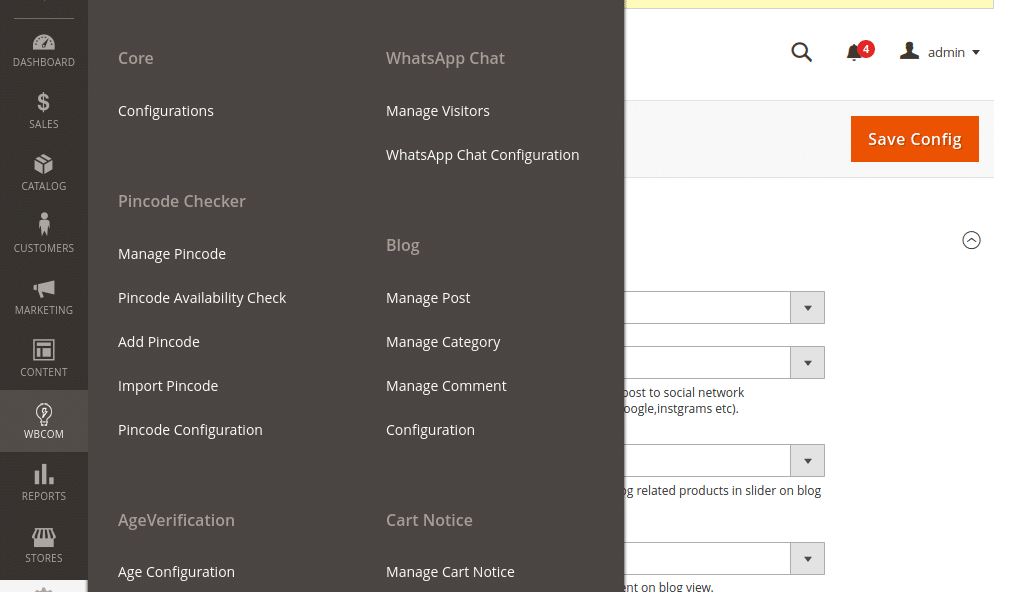
Image1.2
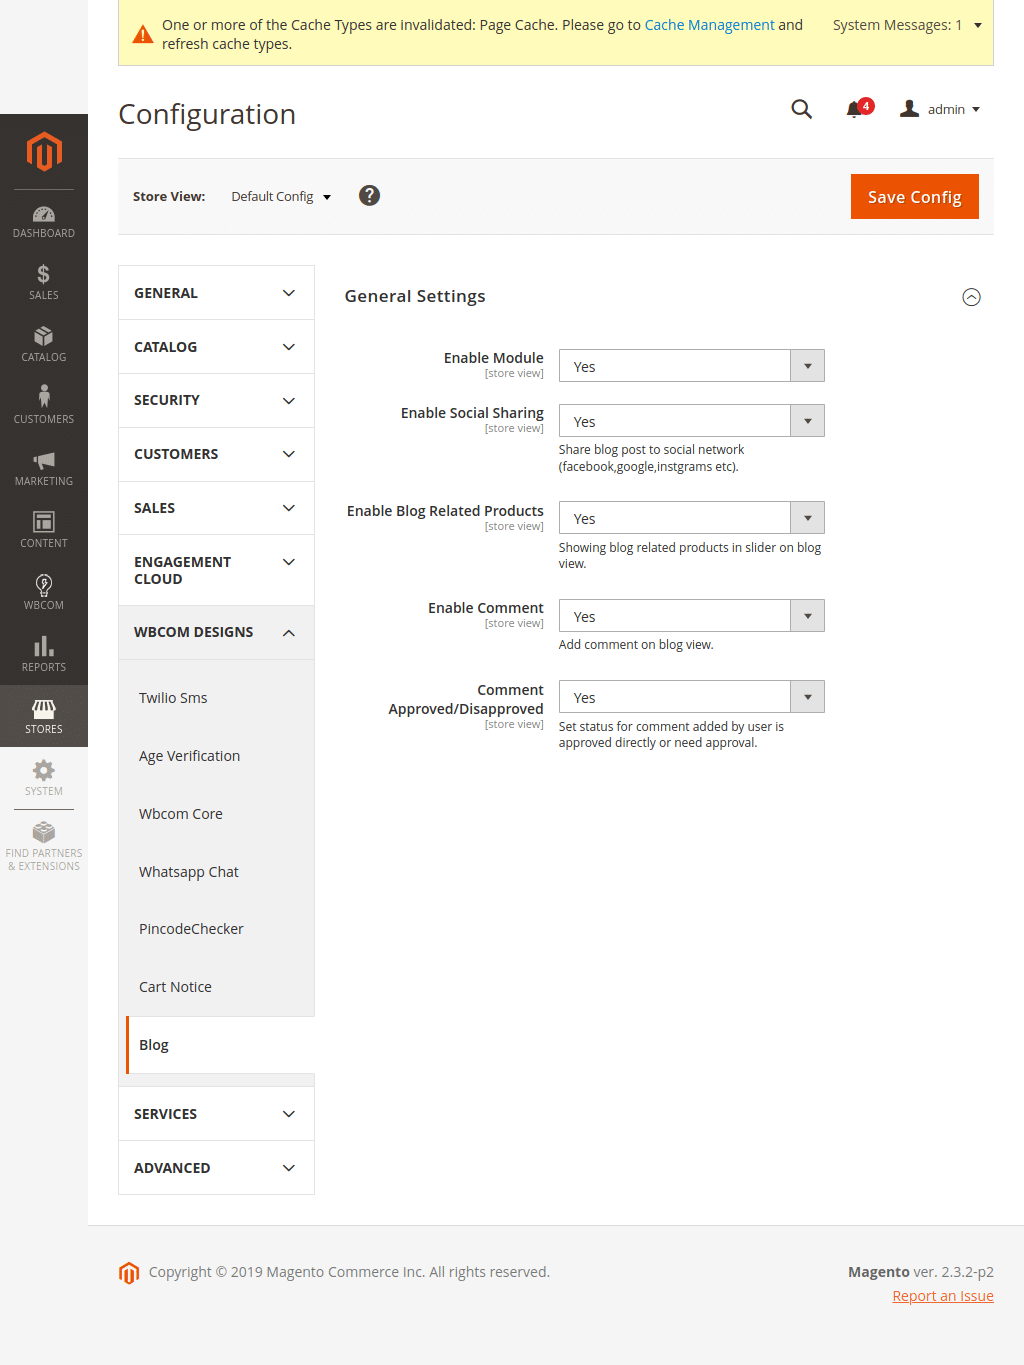
In image 1.2, you can see the option “Enable Module”
- To enable module, select option “Yes”
- To disable module, select option “No”
And, save configurations.
Module Configurations (Reference Image 1.2)
Enable Social Sharing: Admin can enable/disable social sharing for blog posts.
Enable Blog Related Products: Admin can enable/disable to show blog posts related products.
Enable Comment: Admin can enable/disable to show comments on blog posts.
Comment Approved/Disapproved: Admin can configure comment settings to auto approval/disapproval.
Manage Post
Admin can manage all posts through manage posts grid.
Image1.3

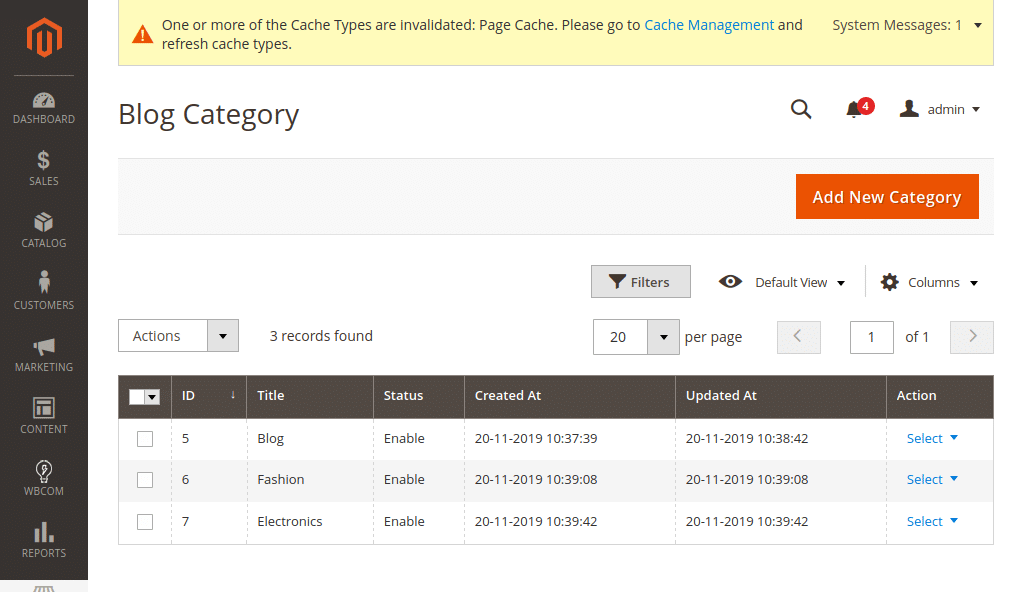
Manage Category
Admin can manage all posts categories through the “Manage Category” grid.
Image1.4
Manage Comment
Admin can manage all comments for blog posts through “Manage Comment” grid.
Image1.5

Frontend View:
(a) Blog Listing Page:
Image 1.6

(b) Blog Post View Page
