Module Activation
Once you install the package successfully, you need to activate the modules.
Login to the admin panel and navigate to the WBCOM menu. Click on it and search for the sub-menu of Vat Validator.
Under Vat Validator, you can get Vat Configurations, click on it.
Log In Admin panel -> Wbcom Menu -> Vat Validator -> Vat Configurations
Image1.1
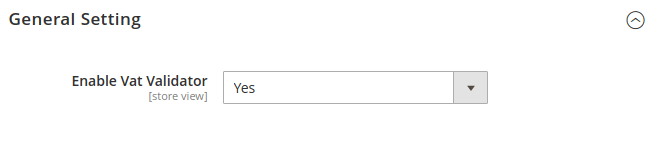
Image1.2
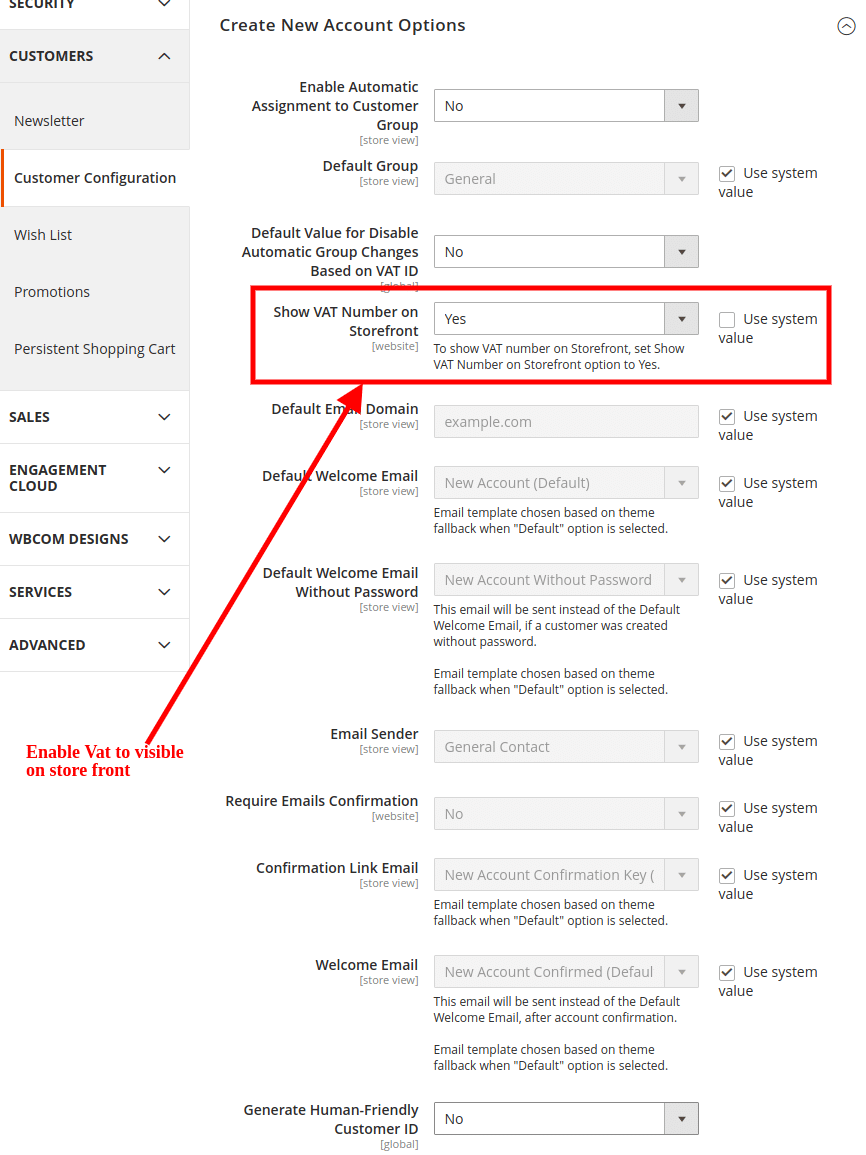
Image1.3
In image 1.1, you can see the option “Enable Module”
- To enable the module, select the option “Yes”
- To disable module, select “No” option
Module Configurations
(a) Enable Vat Number For StoreFront (Reference Image 1.2)
Admin needs to enable a vat number to visible on the storefront.
Log in to Admin Panel –> Select Menu Stores –> Now Select sub-menu Configurations –> Click on CUSTOMERS Tab –> Select Customer Configuration –> Under Create New Account Options
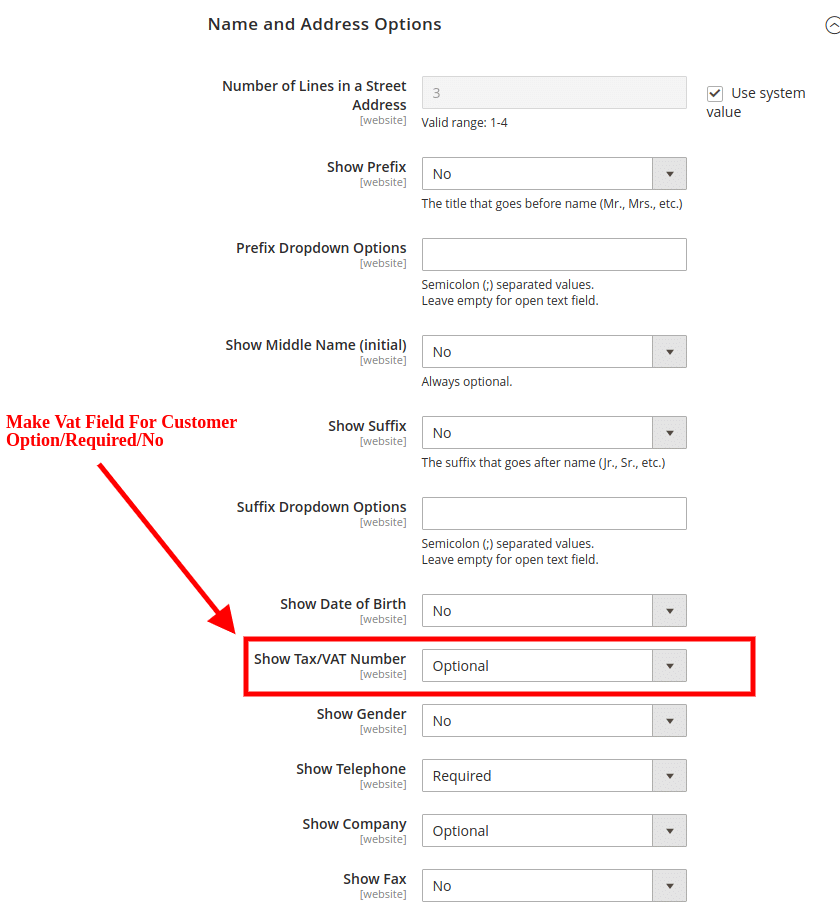
(b) Show Tax/VAT Number (Reference Image 1.3)
Admin needs to select options for the vat number optional/required/no.
Log in to Admin Panel –> Select Menu Stores –> Now Select sub-menu Configurations –> Click on CUSTOMERS Tab –> Select Customer Configuration –> Under Create New Account Options
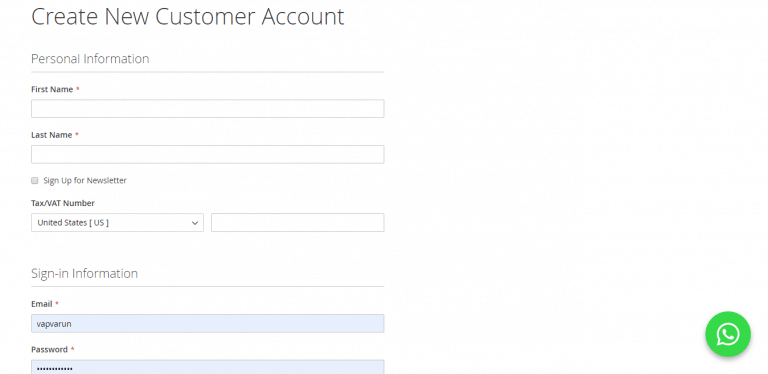
Frontend View:
(a) Registration Page: Customers can validate there vat number on customer registration form.
Image 1.4
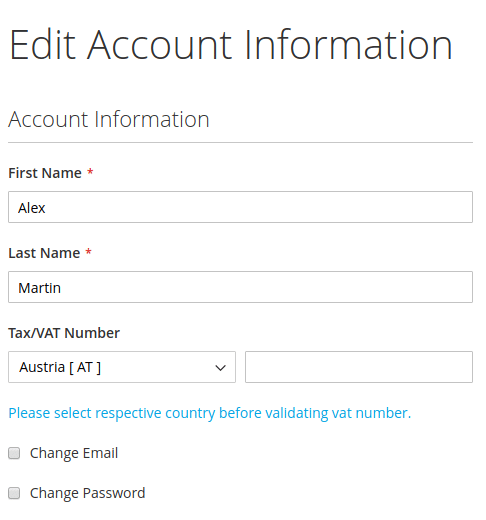
(b) Account Information Page
Image 1.5
(c) Shipping, Billing Address, MultiShipping (New Address and Update Address)
Image 1.6

Image 1.7
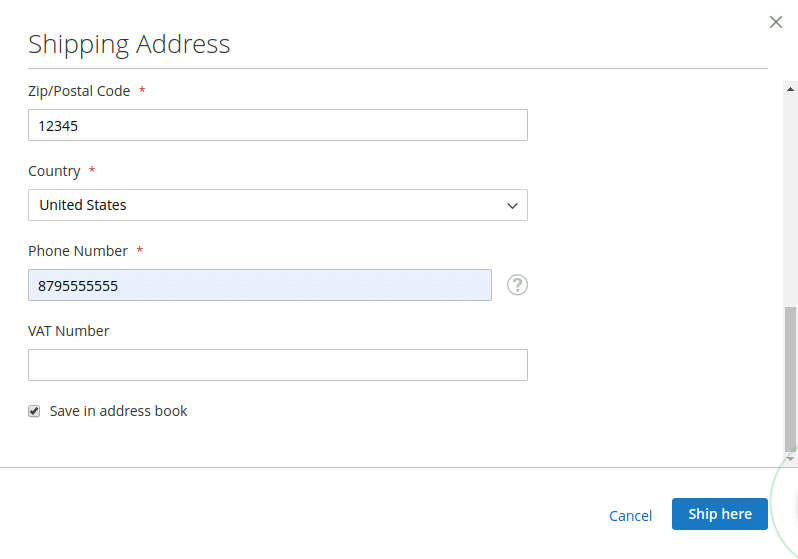
Image1.8
