Module Activation
Once you install the package successfully, now its time to activate the modules.
Login to the admin panel and search the icon Wbcom, once you find click on it and search for the sub-menu of Store Locator.
Under Store Locator, you can get Store Configurations, click on it.
Log In Admin panel -> Wbcom Menu -> Store Locator-> Store Configurations
Image1.1
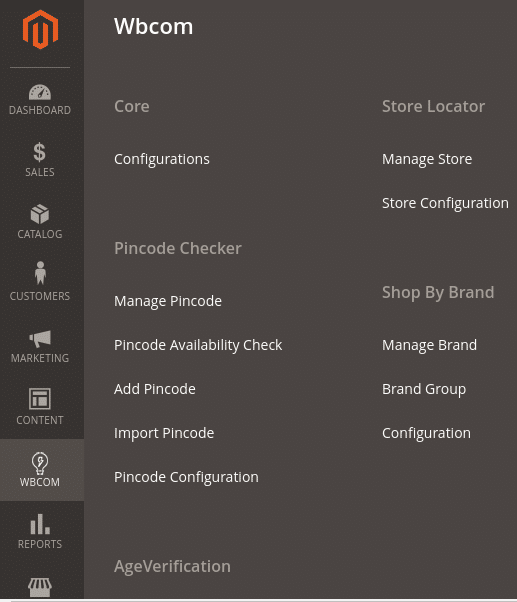
Image1.2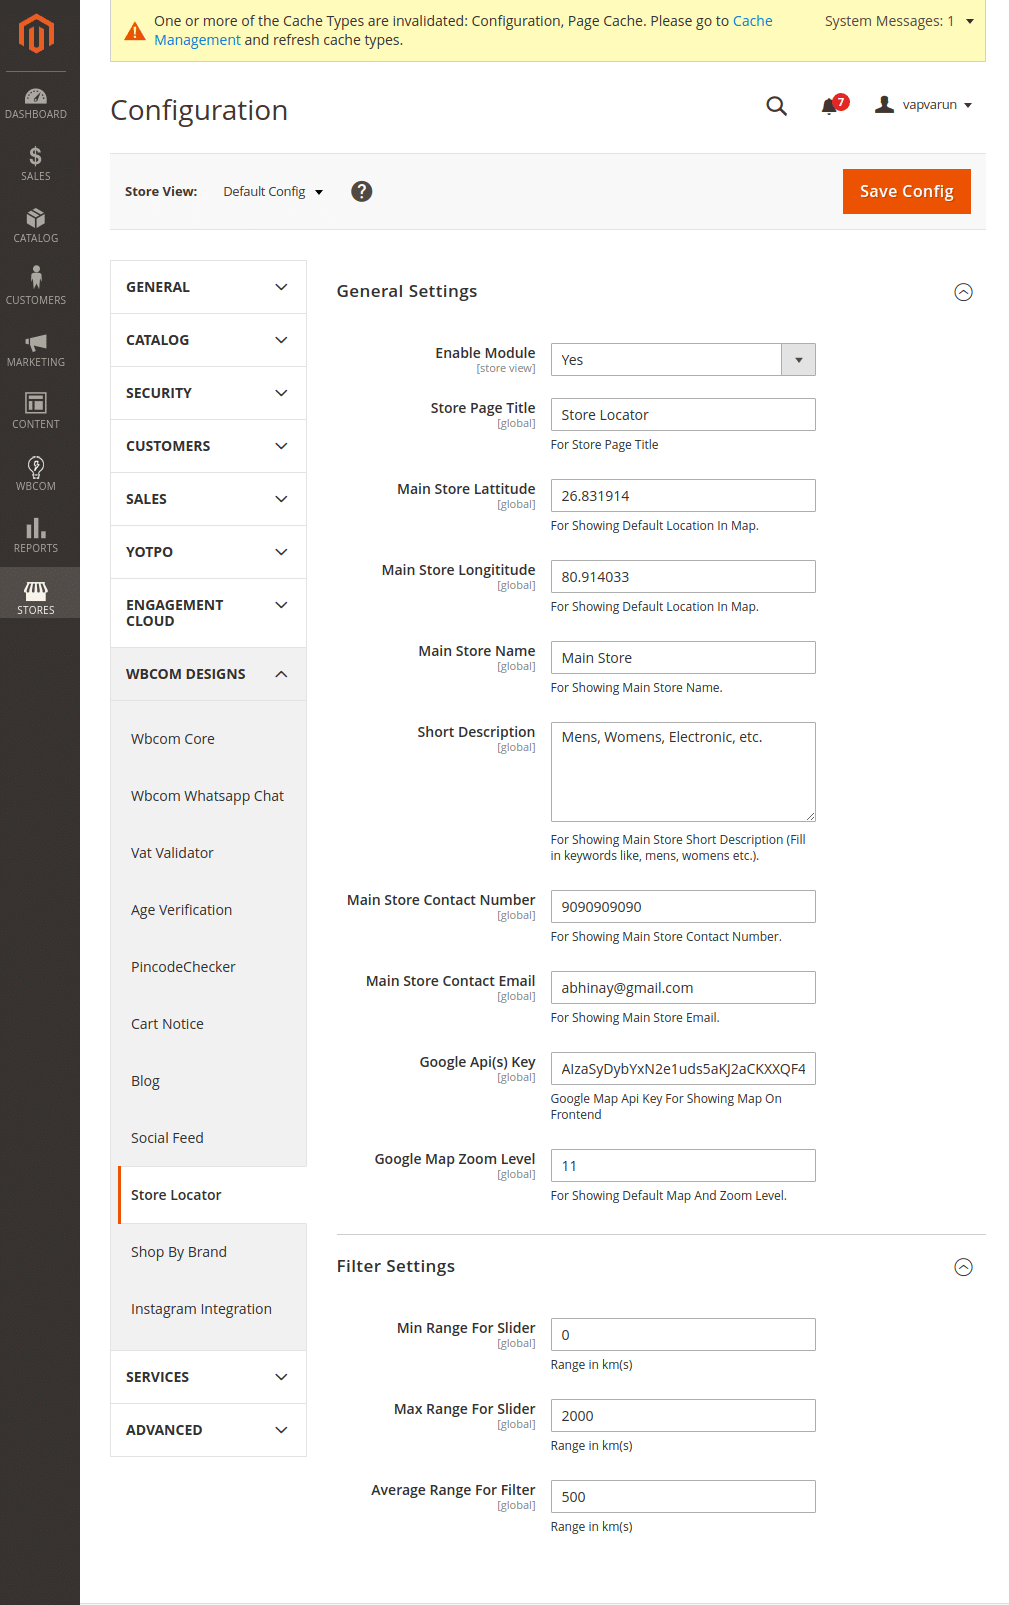
In image 1.2 you can see options “Enable Module”
To enable module select option “Yes” and for disabling the module select “No” option and then save configurations.
Module Configurations (Reference Image 1.2)
Enable/Disable: You can enable/disable module as per requirements.
Store Page Title: You can add store listing page title as per your requirements.
Main Store Lattitude: Add main store lattitude.
Main Store Longitude: Add main store Longitude.
Main Store Name: Add your main store name.
Short Description: Add your category, brands, etc in which you are dealing.
Main Store Contact Number: Add your main store contact number.
Main Store Contact Email: Add your main store contact email.
Google API(s) Key: Enter your Google API for initializing the map.
Google Map Zoom Level: Default zoom level for map.
Min Range For Slider: Minimum value for range slider in kilometers.
Max Range For Slider: Maximum value for range slider in kilometers.
Average Range For Filter: Average value for range slider in kilometers.
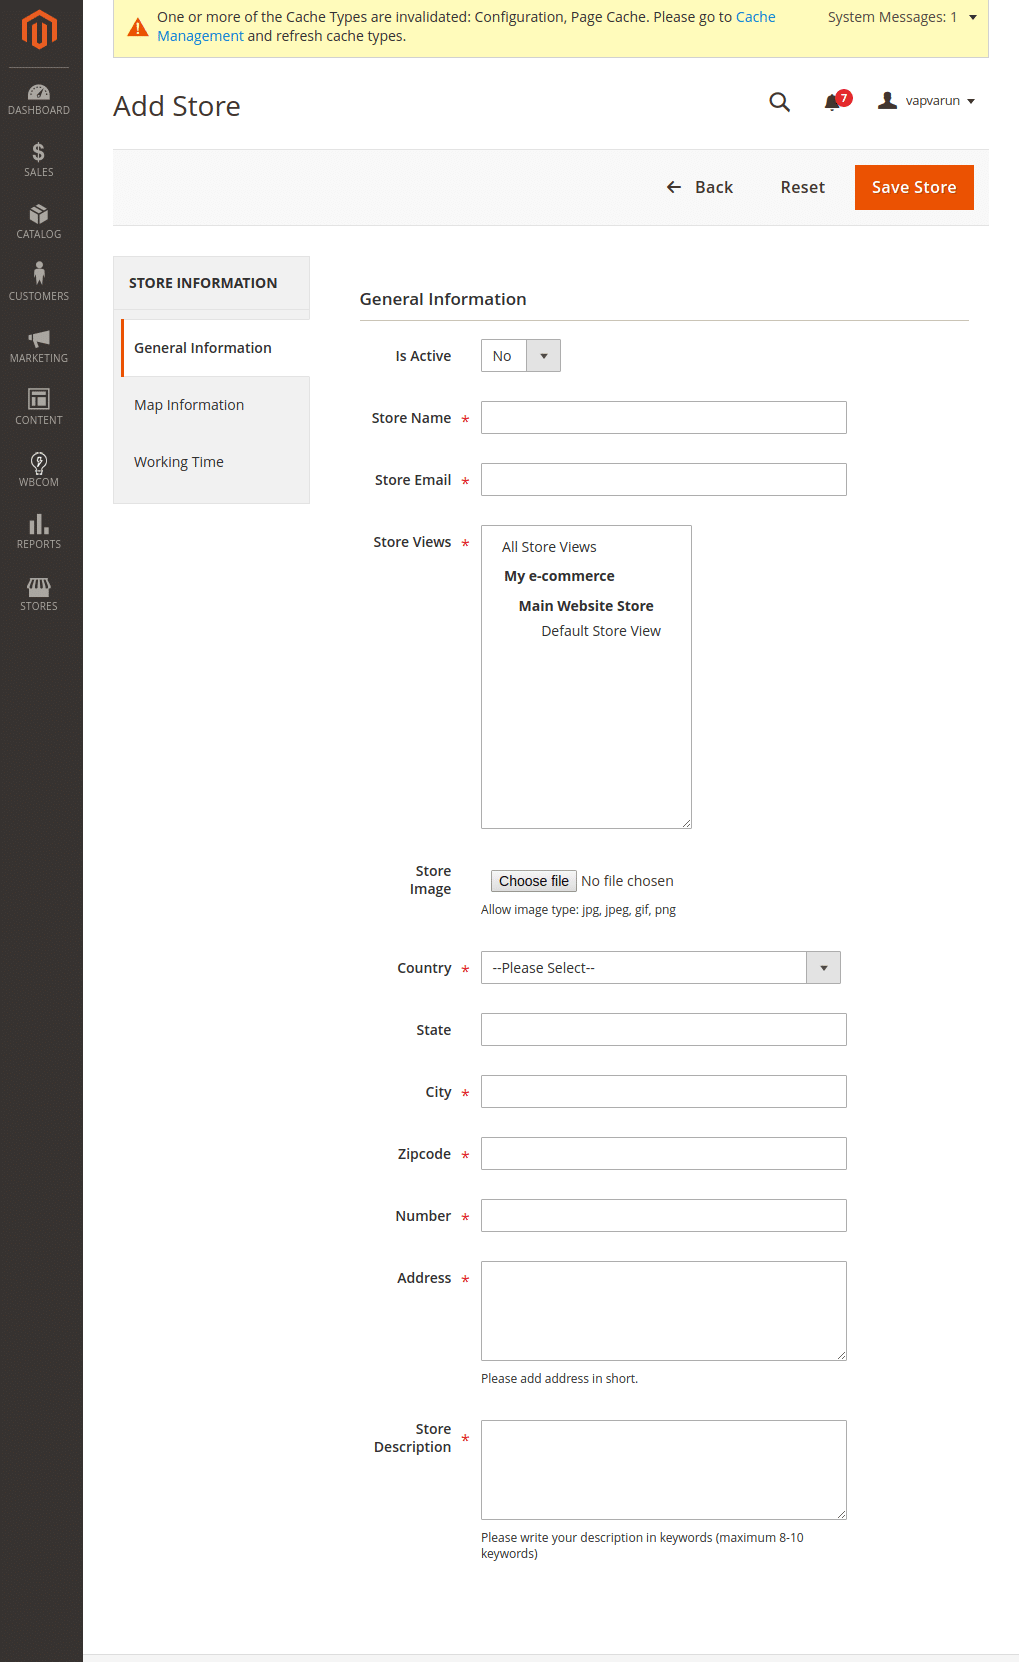
Manage Store & New Store Creation Form (Reference Image 1.3)
You can manage your store list and create a new store as per your requirements.
Log In Admin panel -> Wbcom Menu -> Store Locator-> Manage Store
Image 1.3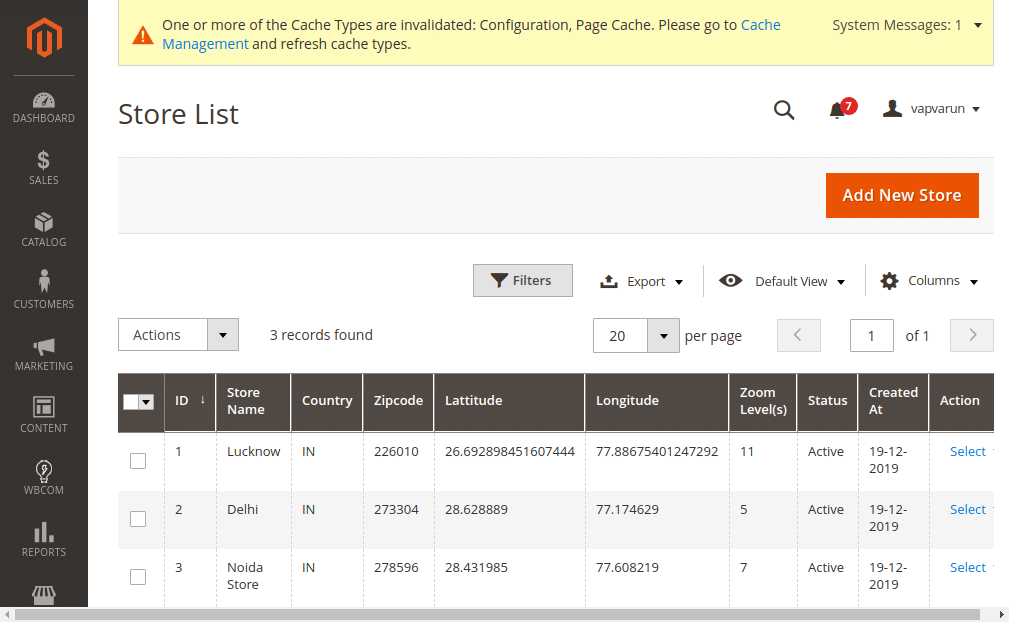
Image 1.4
Frontend View
Once the module is enabled and configurations are done it is visible on the frontend as follows.
Image1.5
